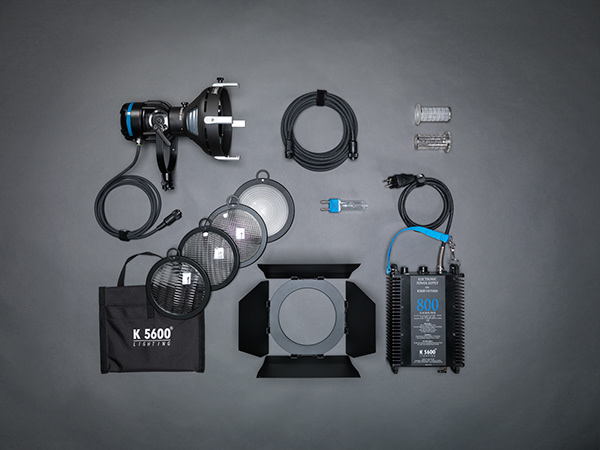


K5600Lighting Joker2 photoshoot. A still life product photography at digitalmiovie studio involving recently announced Joker2 HMIs.


The new design brought even faster set up speed like tool-free lamp sweep, it also improved functional features like the new brake and color code, leaving untouched the unique power output that made the Joker a must-have tool. On top of that the new wifi module makes the joker2 also wireless dimmable.


Determined to do the best job possible, I welcomed into my studio Sebastien Barbedienne from K5600Lighting for the photoshoot. Longtime friend and product expert, he put his own angle on things, definitely adding a great value in highlighting the new features.


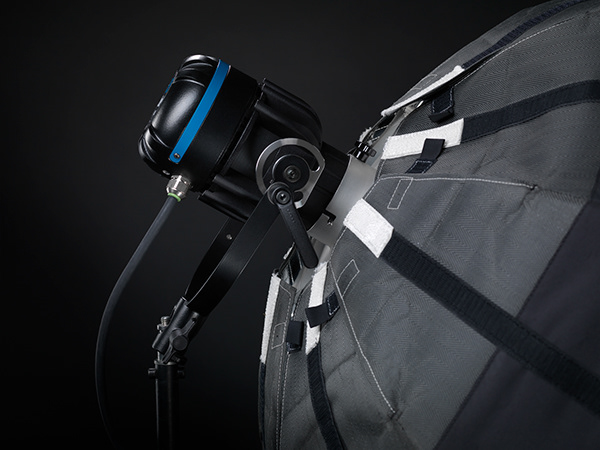
As for the lighting and set up, I worked to get a nice contrasty style matching the black finishing and edgy look of the fixtures. Light occlusion has played a big role in creating in-camera look allowing for a very driven and selective lighting with pockets of light and slightly filled areas. Ss you can see below on the behind the scene pics, a variety of grids from
Lighttools.com have been used in order to create the image look we were after. I created a soft glow effect right in camera as it looks good to me and had no reason really to make it up later in post. As icing on the cake, I had a great time in using a few new lightbanks I bought from Chimera Lighting as I wanted to perfectly fit my subject with the perfect modifier.